
Google Pay
Google Pay lets customers pay in one tap with cards already stored in their Google Wallet — no manual card entry. The SDK provides a native Google Pay button that handles availability checking, the payment sheet, and result handling for you.
| Order Page | Google Payment Sheet |
|---|---|
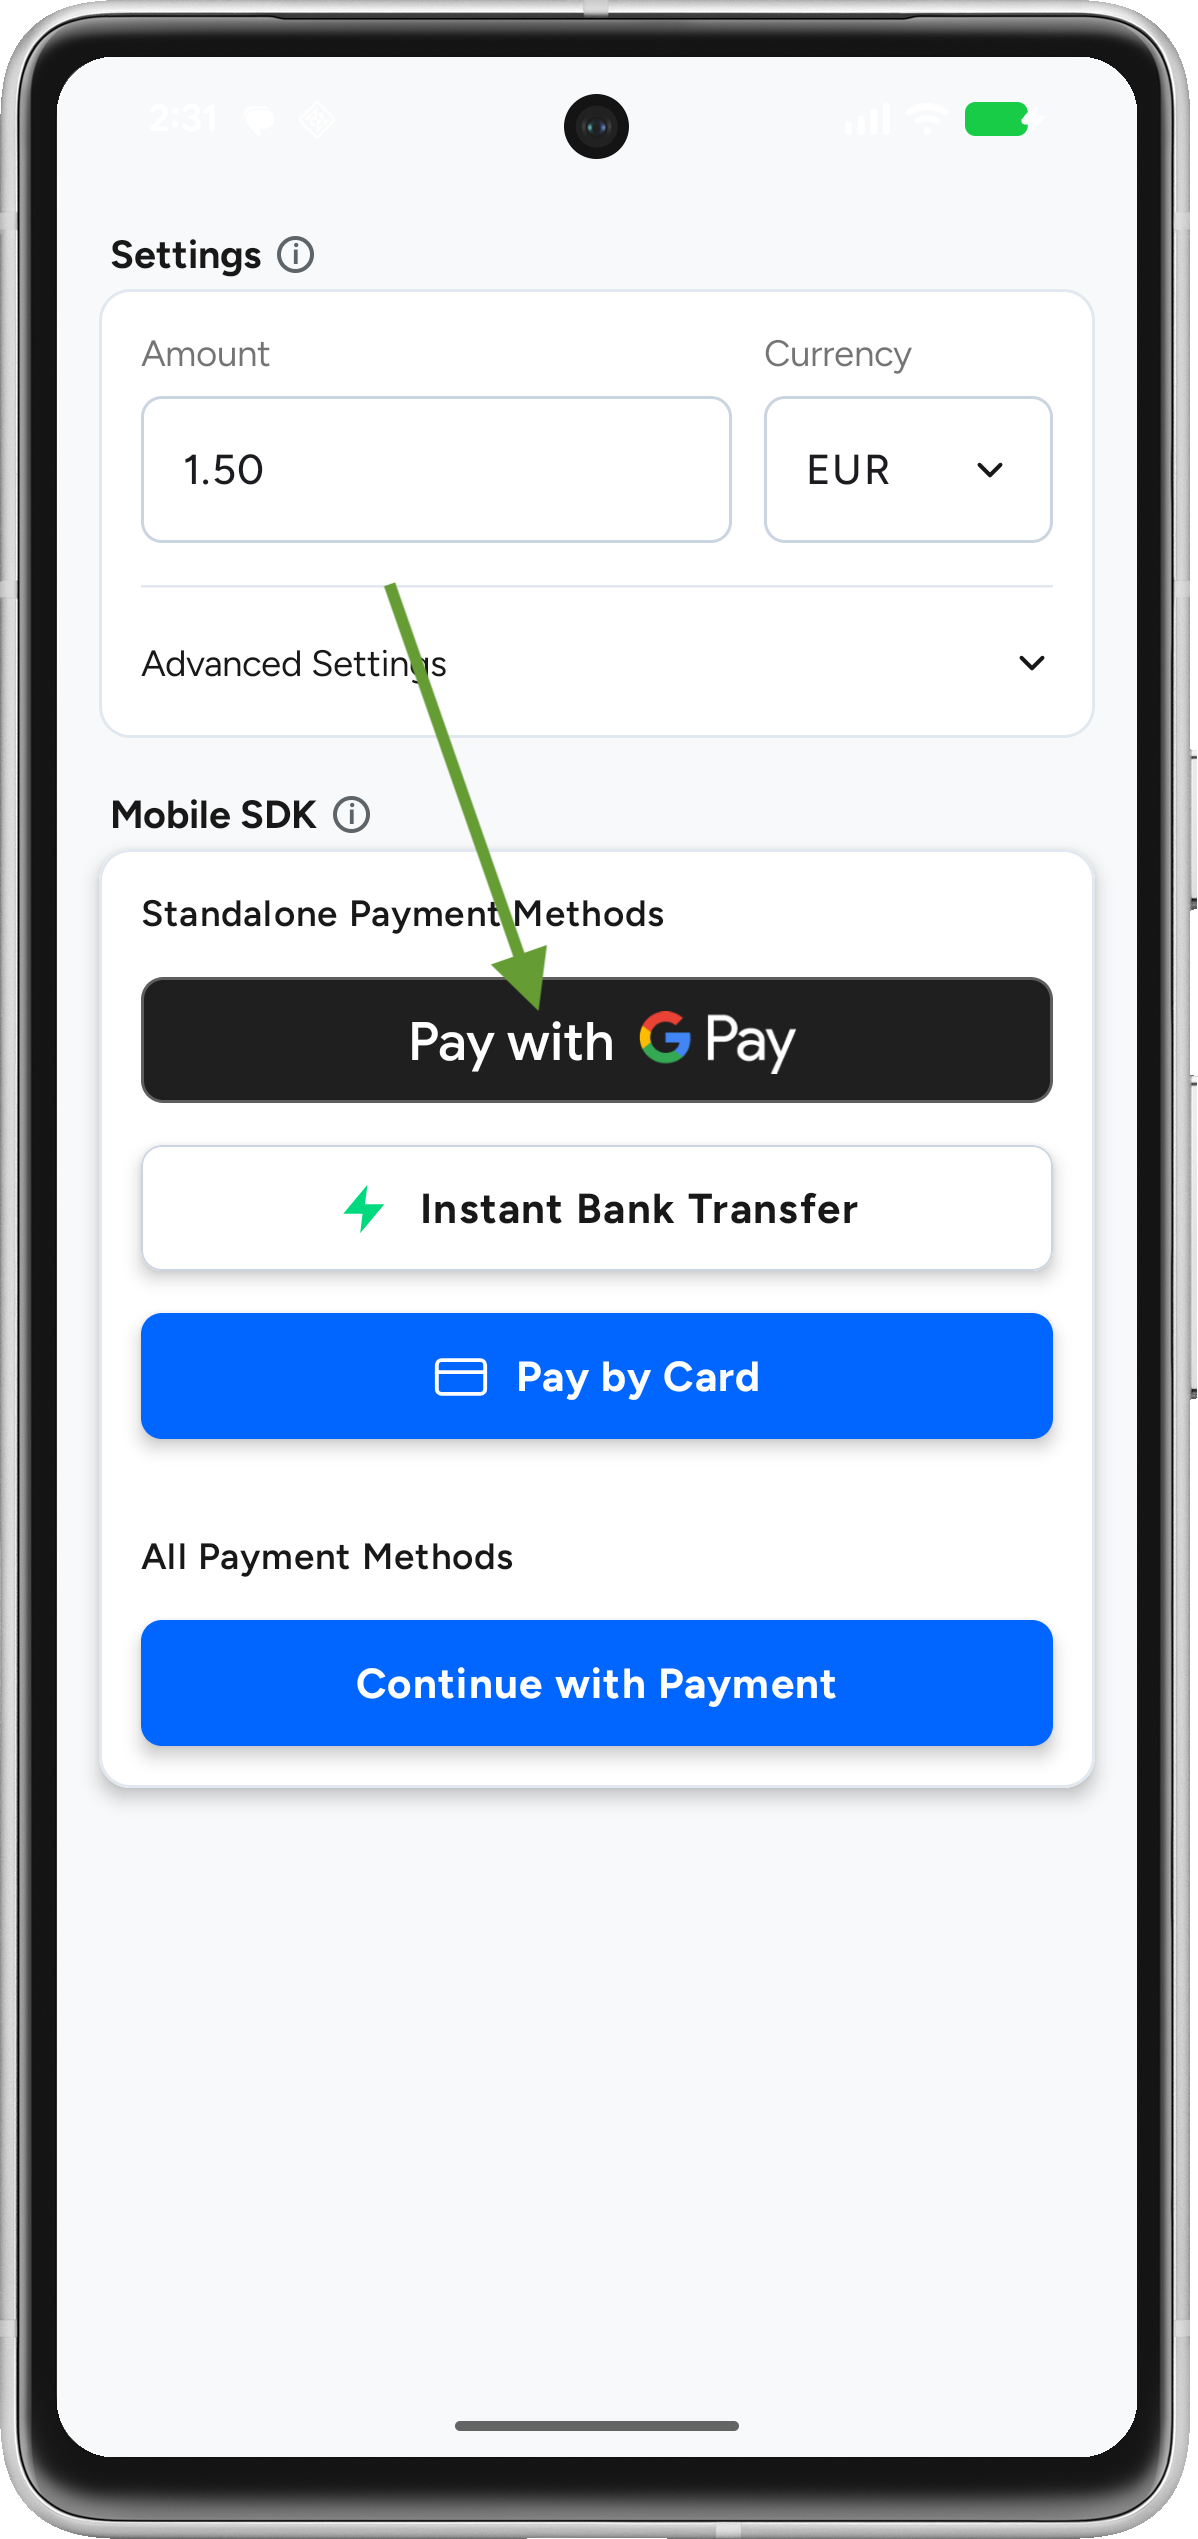 | 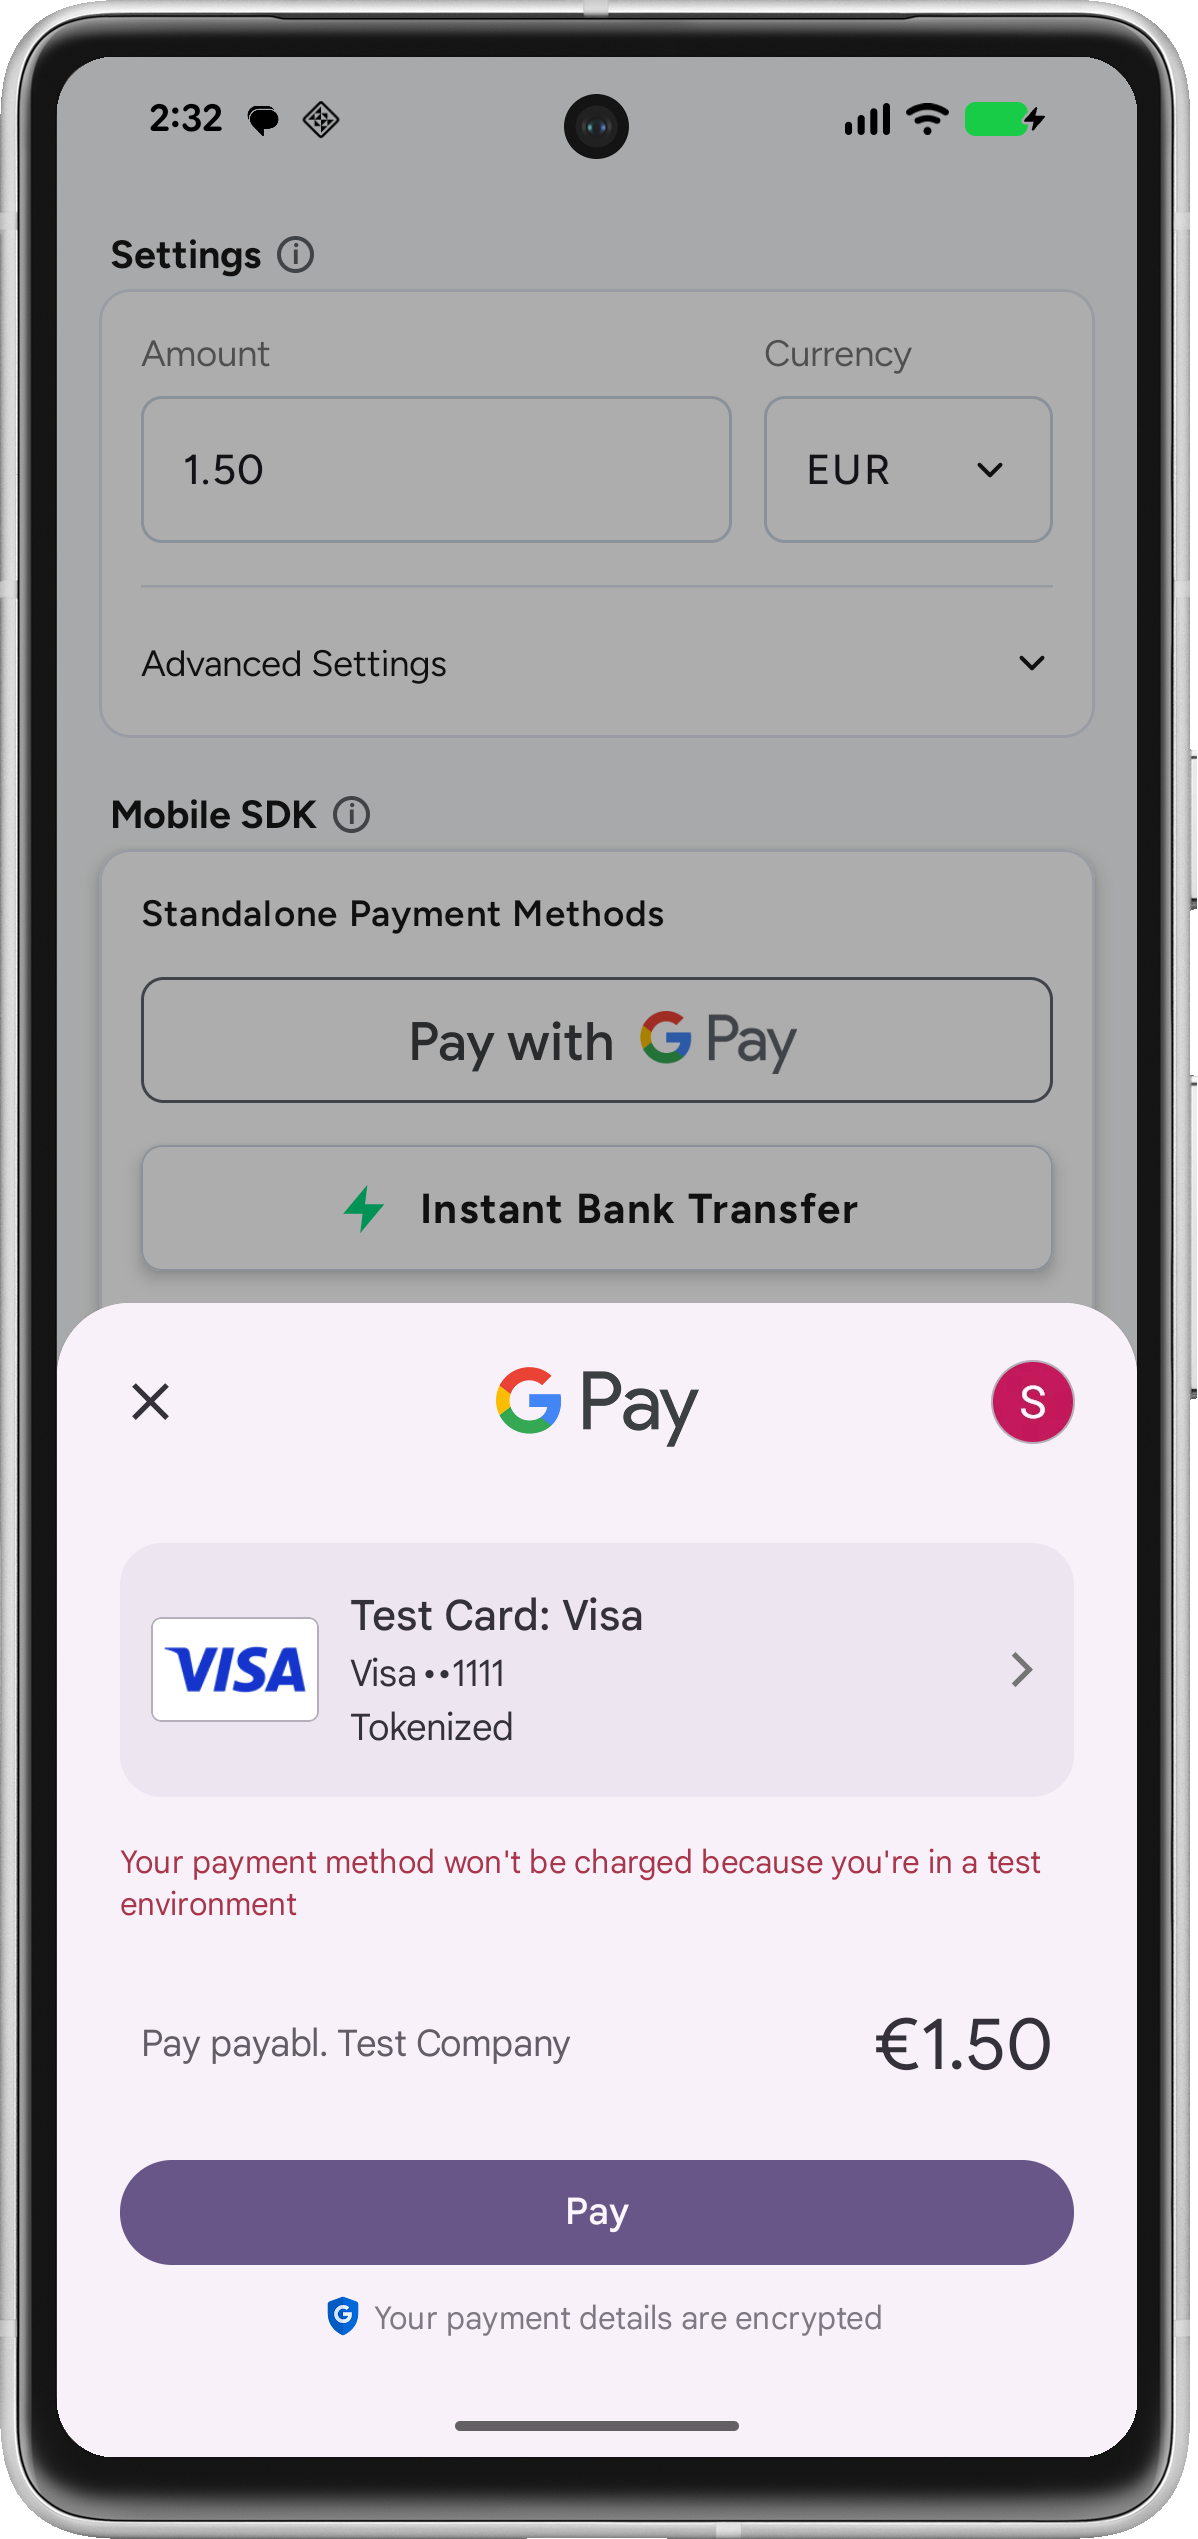 |
Flow: Google Pay button is shown if available on the device → user taps it → Google Pay sheet opens → user confirms → result is returned via GooglePayButtonResult.
Prerequisites
payabl. requirements
- The SDK is added to your project — see Android SDK.
- Your backend can create a session via
/mobile/init, and the request must include thecountryparameter for Google Pay sessions — see Setup Your Server.
Google Pay™ requirements
- Your app is published on Google Play.
- Complete your Business profile in the Google Pay & Wallet Console.
- Share your Google Merchant ID with payabl. so we can configure it in our system.
Device and account setup (for testing)
- Physical device running Android 9+ — emulator support for Google Pay is limited; physical devices are recommended.
- Google Account logged in, with a valid payment method added to Google Wallet.
Manifest configuration
Enable the Google Wallet API in your AndroidManifest.xml:
<application>
    ...
    <meta-data
        android:name="com.google.android.gms.wallet.api.enabled"
        android:value="true" />
</application>
Integration
Use the PayablGooglePayButton composable. It handles the availability check, lazy session loading, and the payment flow.
@Composable
fun PaymentScreen() {
    PayablGooglePayButton(
        modifier = Modifier
            .fillMaxWidth()
            .height(56.dp),
        buttonType = ButtonType.Pay, // Options: Pay, Buy, Checkout
        environment = PBLEnvironment.SANDBOX, // use PBLEnvironment.PRODUCTION when going live
        // 1. Check availability
        onGooglePayAvailability = { isAvailable ->
            // Show a fallback payment method if false
        },
        // 2. Provide the session (lazy — runs only when the button is tapped)
        sessionProvider = {
            fetchSessionConfiguration()
        },
        // 3. Handle the result
        onPaymentResult = { result ->
            handlePaymentResult(result)
        }
    )
}
Configuration parameters
| Parameter | Type | Default | Description |
|---|---|---|---|
buttonType | ButtonType | ButtonType.Pay | Type of button (Pay, Buy, Checkout, etc.) |
theme | ButtonTheme? | null | Button theme (Light/Dark); auto-detects the system theme if null |
radius | Dp | 100.dp | Corner radius of the button |
environment | PBLEnvironment | PBLEnvironment.SANDBOX | Environment for availability checking |
onGooglePayAvailability | (Boolean) -> Unit | {} | Invoked when availability is determined — true if Google Pay is available on the device |
sessionProvider | suspend () -> PBLConfiguration | Required | Suspend function that provides the session configuration |
onPaymentResult | (GooglePayButtonResult) -> Unit | Required | Callback for payment results |
Session provider
The sessionProvider runs only when the user taps the button — lazy initialization that avoids creating sessions the user never uses. Create a new session for every payment attempt.
private suspend fun fetchSessionConfiguration(): PBLConfiguration {
    return withContext(Dispatchers.IO) {
        // Call your backend, which calls /mobile/init (with the country parameter)
        val response = apiClient.initPayment()
        response.getOrElse { exception ->
            throw exception // surfaces as GooglePayButtonResult.Error
        }
        PBLConfiguration(
            sessionId = response.sessionId,
            ephemeralKey = response.ephemeralKey,
            userId = "user_id_from_app",
            environment = PBLEnvironment.SANDBOX // use PBLEnvironment.PRODUCTION when going live
        )
    }
}
Handle the result
The button reports outcomes through the GooglePayButtonResult sealed class. Handle all three cases.
fun handlePaymentResult(result: GooglePayButtonResult) {
    when (result) {
        is GooglePayButtonResult.Success -> {
            // Transaction complete — details via result.status (amount, orderId, timestamp)
        }
        is GooglePayButtonResult.Error -> {
            // Payment failed or technical error — inspect result.errorMessage
        }
        is GooglePayButtonResult.Cancelled -> {
            // User closed the Google Pay sheet without paying
        }
    }
}
Testing
Use PBLEnvironment.SANDBOX throughout development. To test on a physical device:
- Device runs Android 9+ and is in a Google Pay-supported region.
- Log in with your Google Account and add a card from Google's test card suite to Google Wallet.
- Run payments in the sandbox before going live.
For test data across all payment methods, see Testing.
Going live
When transitioning from sandbox to production:
- Switch the environment in both the button and your session configuration to
PBLEnvironment.PRODUCTION, and make sure your backend uses live credentials. - Request production access with Google: submit your app for Google Pay production review, choose Gateway as the integration type, provide screenshots of your implementation, and wait for Google's approval.
- Test in production with a signed release build and a real payment method.
Common issues
| Issue | Cause & resolution |
|---|---|
Button never becomes available (onGooglePayAvailability returns false) | No Google Account or no valid payment method in Google Wallet, unsupported device/region, or the Wallet API meta-data is missing from the manifest. |
| Session created but payment fails | country missing from the /mobile/init request — required for Google Pay. See Setup Your Server. |
| Works in sandbox, fails in production | Google production access not approved yet, environment still set to SANDBOX somewhere, or the app isn't a signed release build. |
| Works on one device, not another | Emulator limitations, or the device's region/account doesn't support Google Pay. Test on a physical device with a supported account. |
When something goes wrong, see Error Handling & Troubleshooting.
Updated 3 months ago